Asset Manager
Asset Manager
Section titled “Asset Manager”PlaceOS Asset Manager allows you to create assets and asset categories and allow users to book these assets for events. Assets might include digital whiteboards, presenter technology, additional furniture etc.
Asset Manager is configured via the Concierge Application.
{% hint style=“success” %} Important Definitions
It is important to note the use of words within Asset Manager.
Product: A product is the tangible item i.e. Microsoft Surface Hub and will contain many assets.
Asset: An asset is a purchased product in your inventory that may be booked by users. {% endhint %}
Add a Product
Section titled “Add a Product”Products are added via PlaceOS Concierge. Navigate to your concierge application.
1. Select Asset Manager from the navigation bar
Section titled “1. Select Asset Manager from the navigation bar”
2. Click on Products
Section titled “2. Click on Products”
3. Click on Add Product
Section titled “3. Click on Add Product”
4. Enter a name for your product
Section titled “4. Enter a name for your product”
5. Click on Technology
Section titled “5. Click on Technology”
6. Enter a description
Section titled “6. Enter a description”This description will be visible to users in Workplace App

7. Optionally add images
Section titled “7. Optionally add images”
8. Click on Save
Section titled “8. Click on Save”
Adding Assets
Section titled “Adding Assets”Creating a Purchase Order
Section titled “Creating a Purchase Order”To create an asset, it must have a valid purchase order reference.
1. Click on Products
Section titled “1. Click on Products”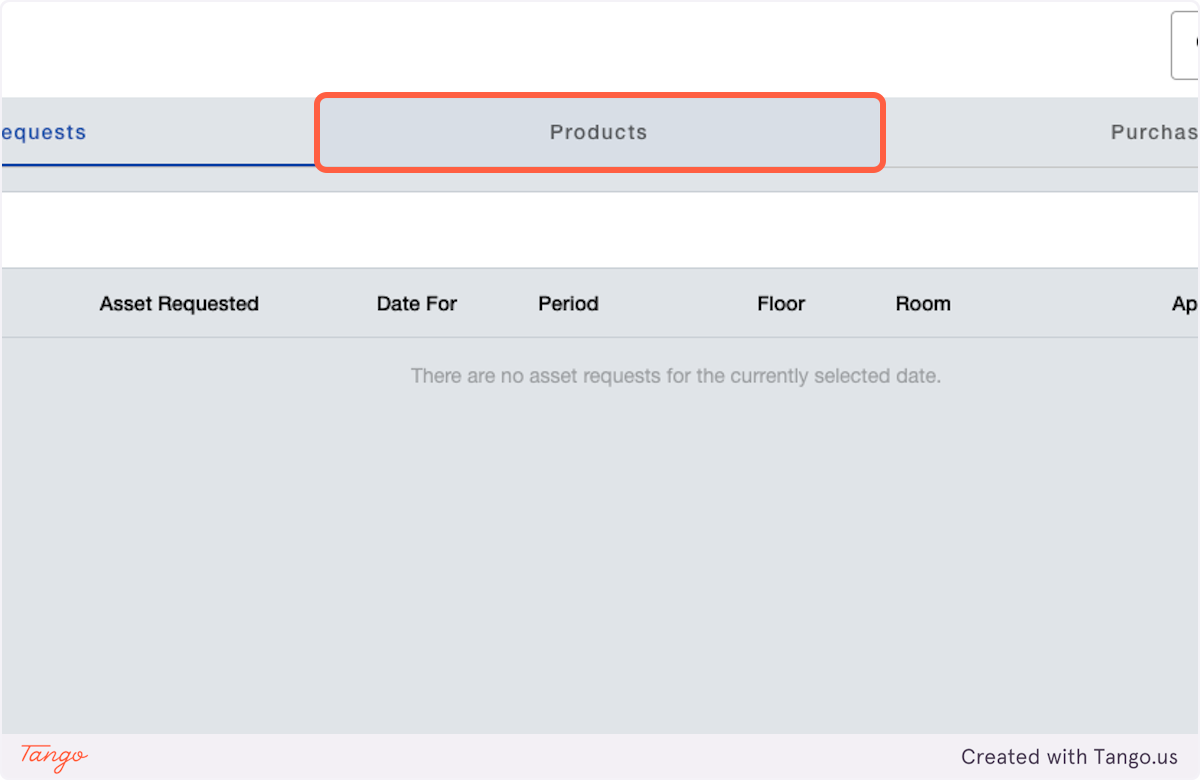
2. Select a Product
Section titled “2. Select a Product”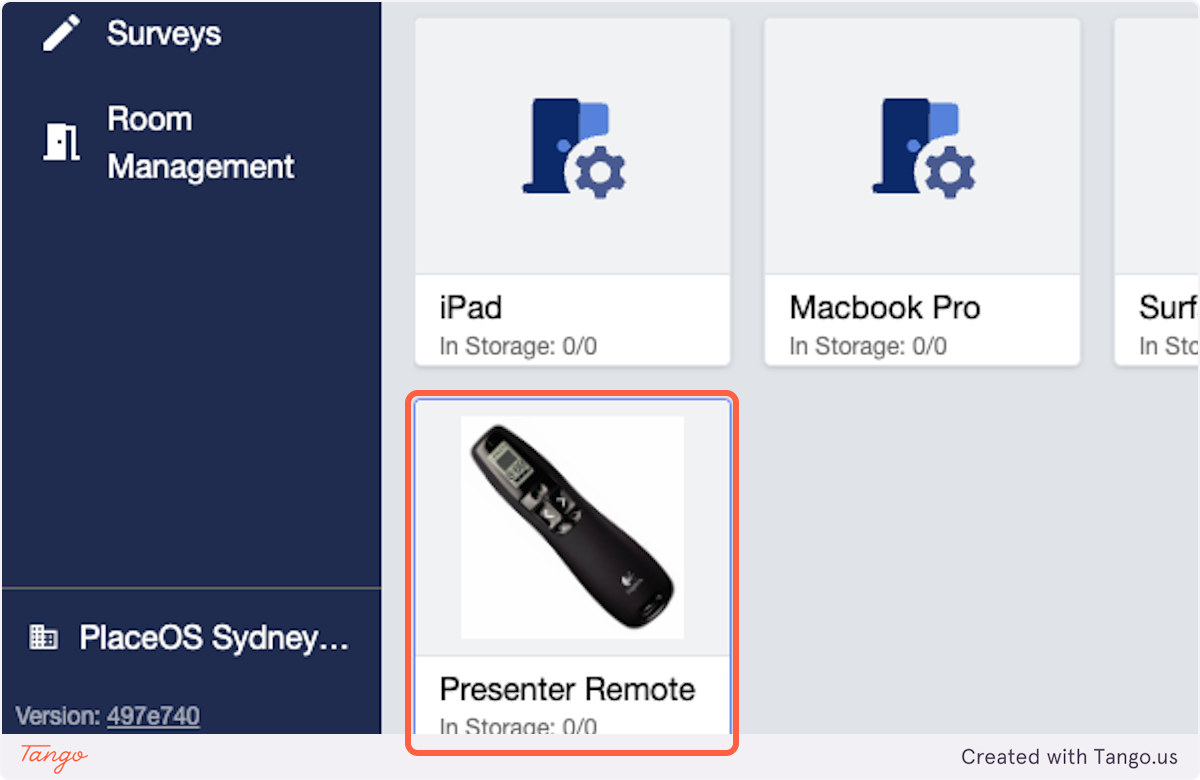
3. Click the Purchase Information tab
Section titled “3. Click the Purchase Information tab”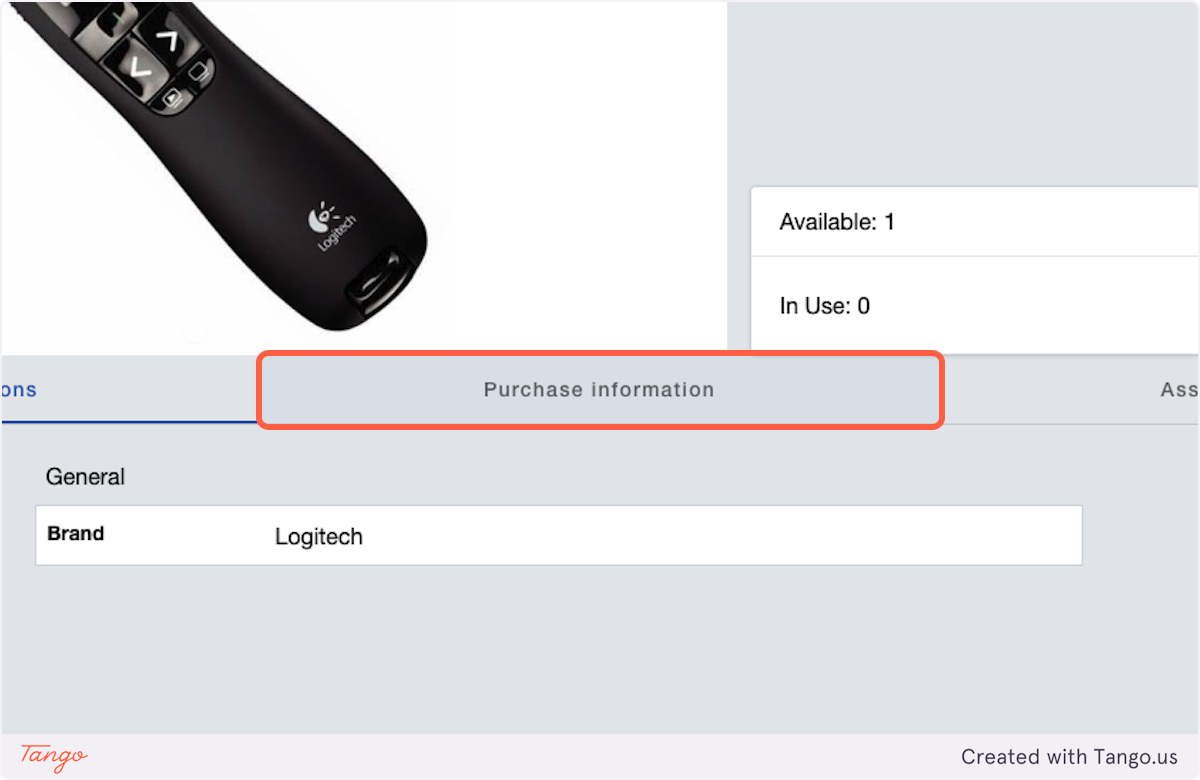
4. Click on Add Purchase Order
Section titled “4. Click on Add Purchase Order”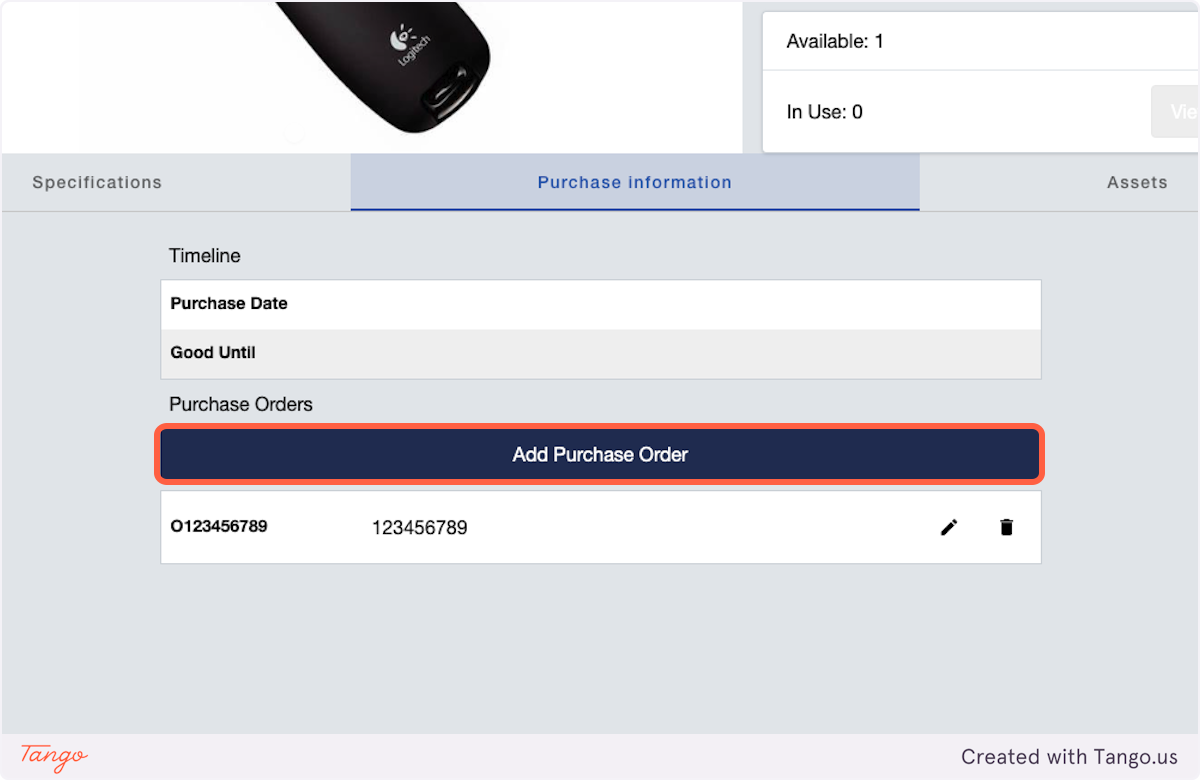
5. Enter your Order Number
Section titled “5. Enter your Order Number”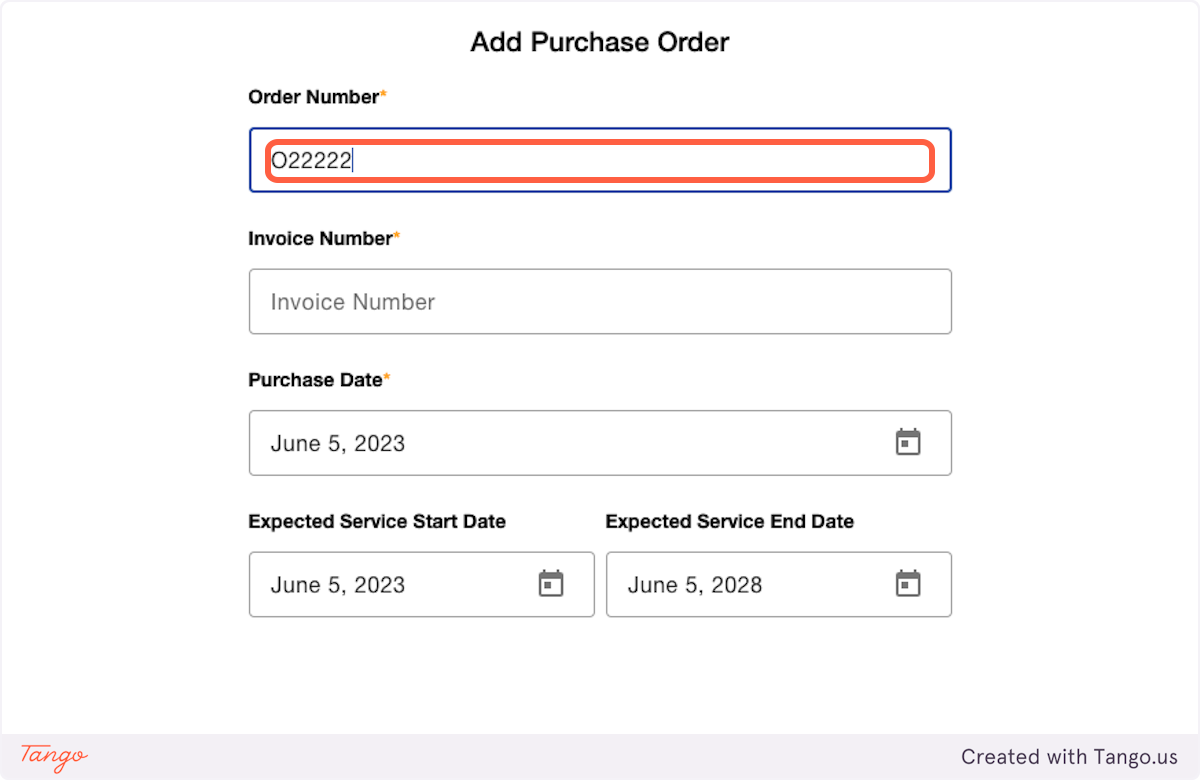
6. Enter your Invoice Number
Section titled “6. Enter your Invoice Number”
7. Select a Purchase Date
Section titled “7. Select a Purchase Date”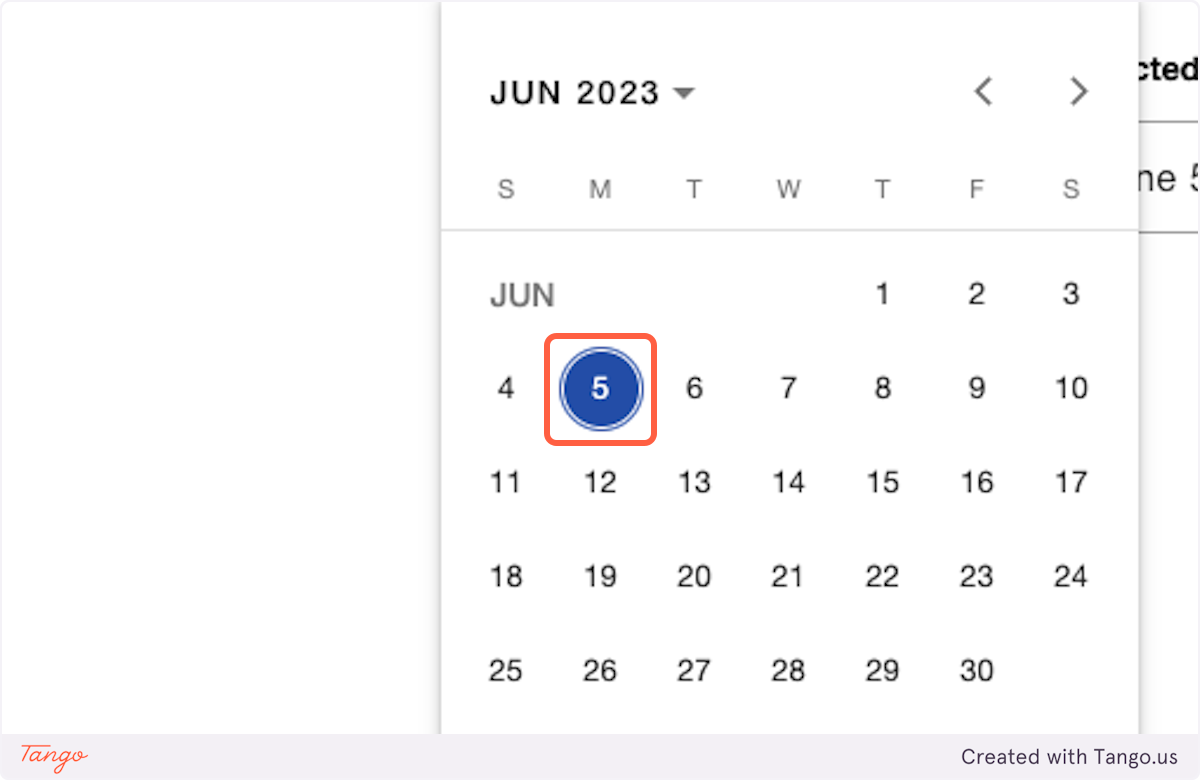
8. Optionally modify the service start date
Section titled “8. Optionally modify the service start date”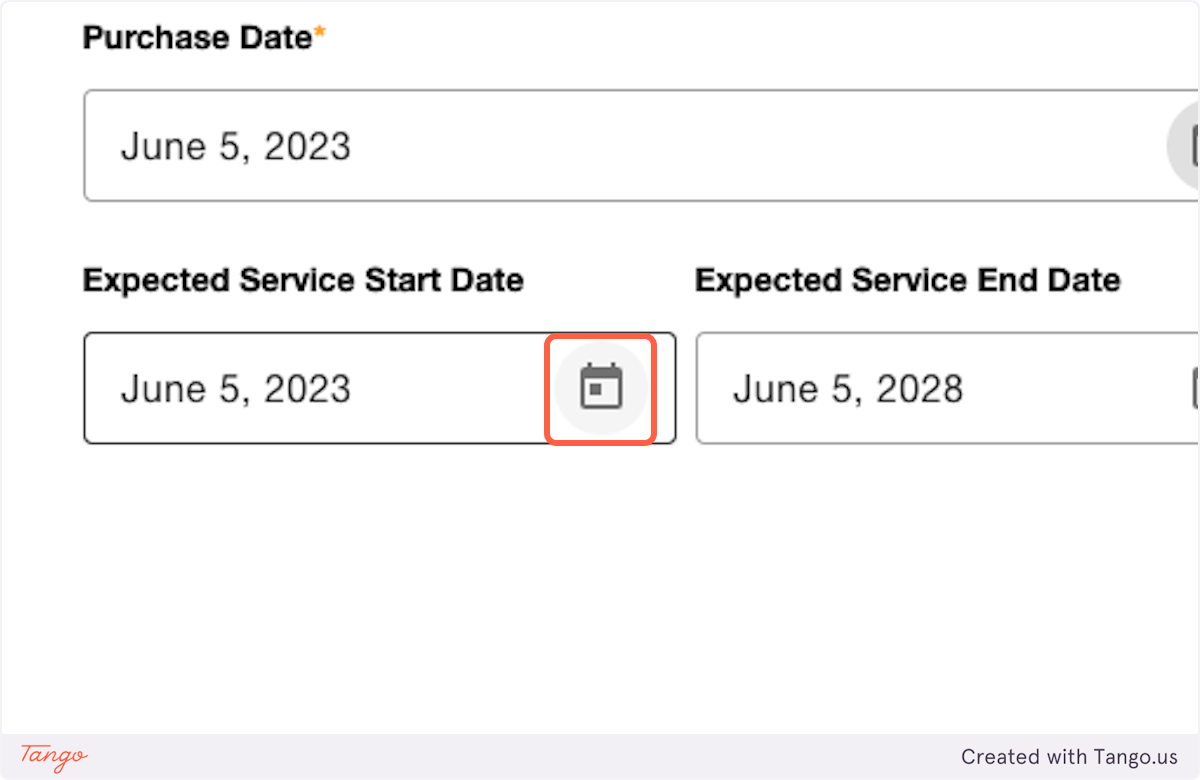
9. Optionally change the service end date
Section titled “9. Optionally change the service end date”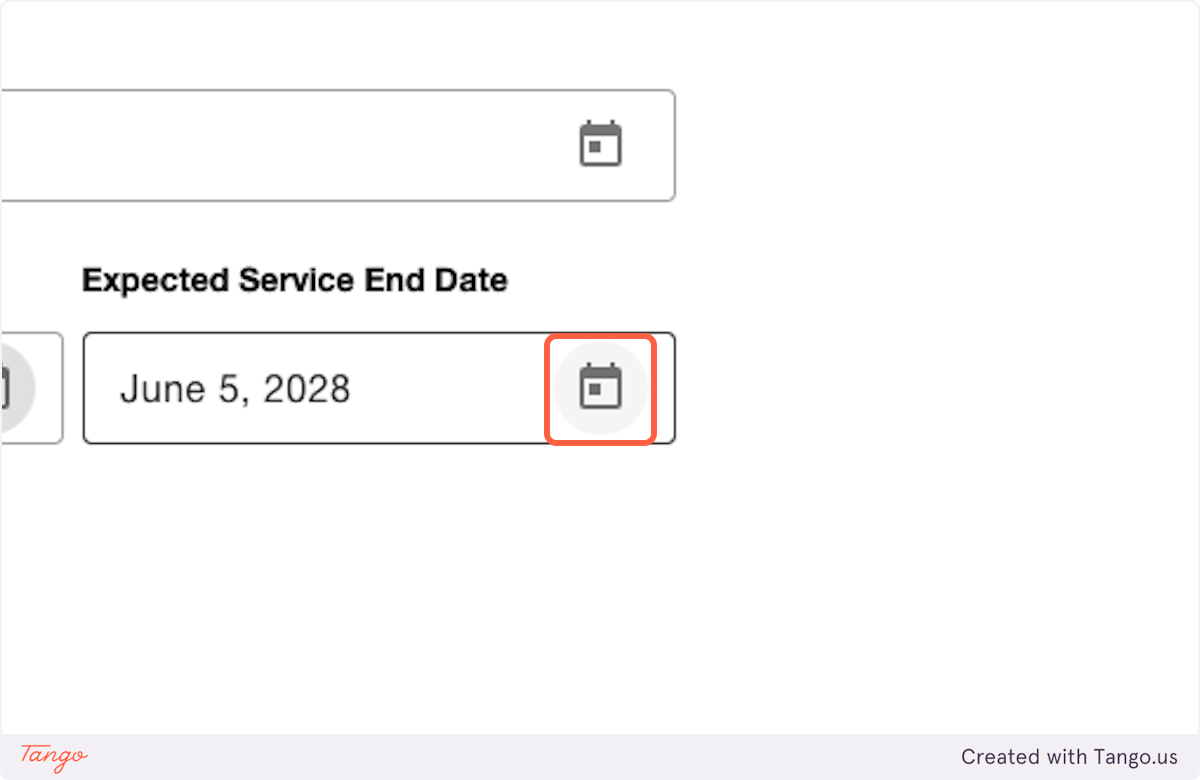
10. Click on Save
Section titled “10. Click on Save”
Adding an Asset
Section titled “Adding an Asset”1. Click on Products
Section titled “1. Click on Products”
2. Select a Product
Section titled “2. Select a Product”
3. Click on tab
Section titled “3. Click on tab”
4. Click on Add Asset
Section titled “4. Click on Add Asset”
5. Enter the Serial Number
Section titled “5. Enter the Serial Number”
6. Optionally enter a barcode or internal tracking ID
Section titled “6. Optionally enter a barcode or internal tracking ID”
7. Select a purchase order for this asset
Section titled “7. Select a purchase order for this asset”
8. Optionally enter a purchase price
Section titled “8. Optionally enter a purchase price”
9. Click on Save
Section titled “9. Click on Save”