Calendar Driver
Calendar Driver
Section titled “Calendar Driver”The PlaceOS Calendar Driver connects to Microsoft Graph API (365) or Google Workspace.
The Calendar Driver and the Bookings Driver work together to get resource calendar events.
The Calendar Driver can also make ad-hoc bookings from kiosks or room booking panels.
{% hint style=“info” %} To configure and deploy the Calendar Driver for Microsoft 365 where Delegated Access has been used, please refer to this page related to configuring PlaceOS Calendar Driver for 365. {% endhint %}
Prerequisites
Section titled “Prerequisites”- Administrator access to your PlaceOS Backoffice
- PlaceOS Drivers Repository Configured in Backoffice
- Systems have a valid calendar resource address from Microsoft 365 or Google Workspace
Add Driver
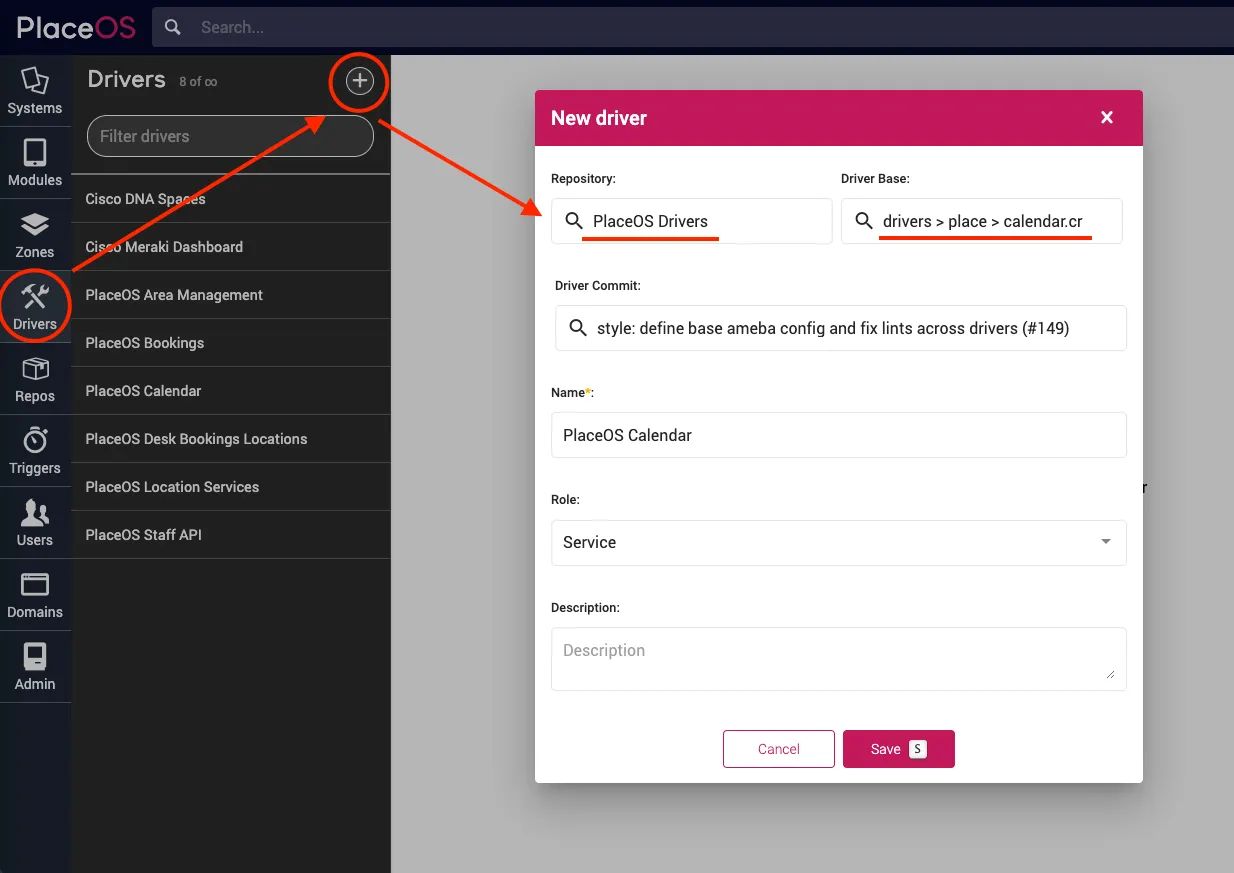
Section titled “Add Driver”Before we can use the PlaceOS Calendar Driver we must instantiate it as a driver.
-
Navigate to the Drivers tab
-
Click the
+icon to add a new driver -
Select
PlaceOS DriversRepository -
Select the
drivers > place > calendar.crDriver Base -
Select the latest commit
-
Click Save
Add to System
Section titled “Add to System”You need to instantiate a single instance of the PlaceOS Calendar Driver.
We recommend instantiating the driver in a generic system e.g. *Tracking.
That module is then added to each system that requires booking or calendar functionality.
Instantiate the Driver
Section titled “Instantiate the Driver”-
Navigate to the system you will instantiate the driver in
-
Select the
Modulestab -
Click
Add New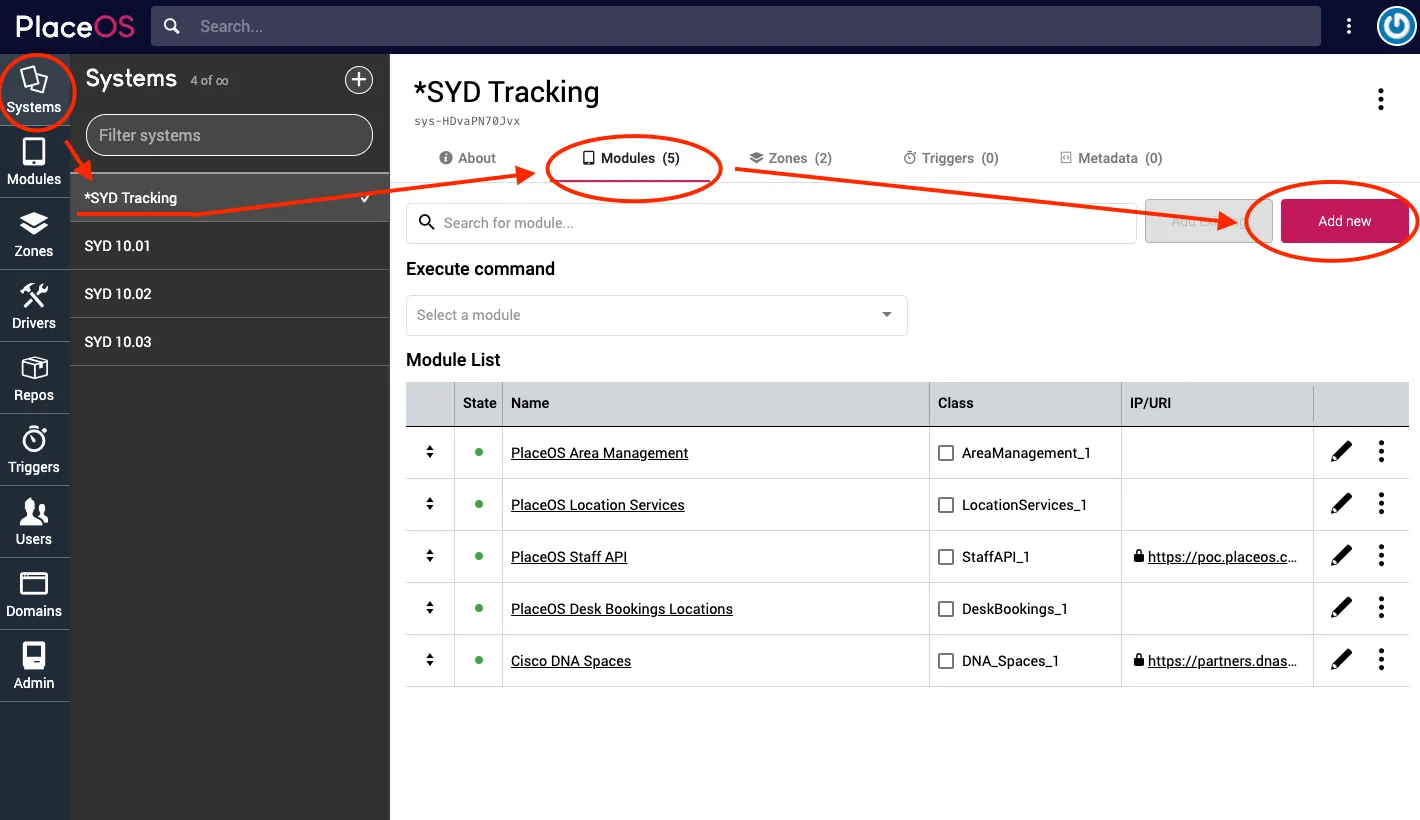
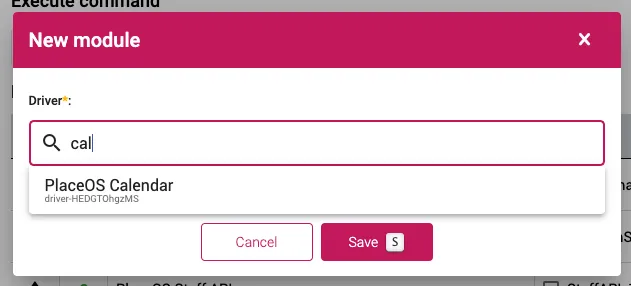
-
Search for the PlaceOS Calendar driver
-
Click Save
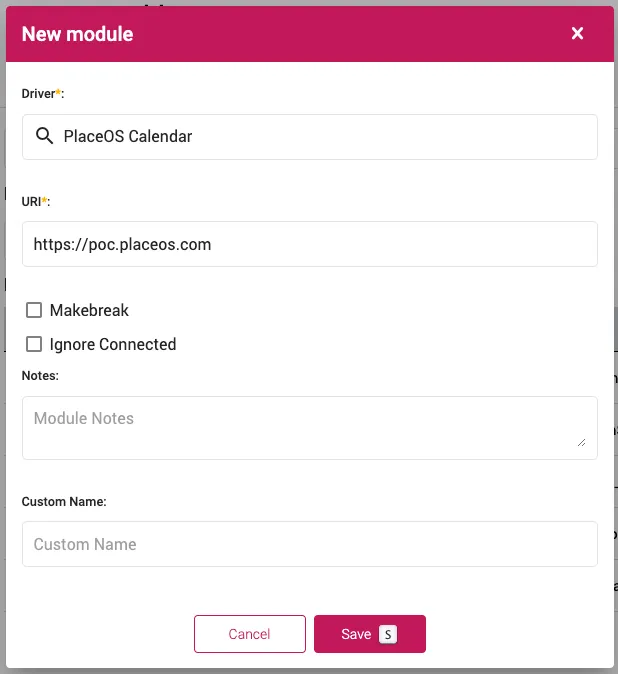
-
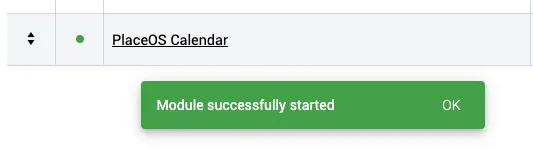
Enable the driver by clicking the black dot, it should turn green
Configure Driver
Section titled “Configure Driver”{% hint style=“success” %} For Google Integration, we recommend creating a Service User on Google Workspace.
Service Users are the same as a regular Users Accounts with a descriptive name e.g. placeos-service-user@yourdomain.com
For testing, you can use your own Google Workspace Account. {% endhint %}
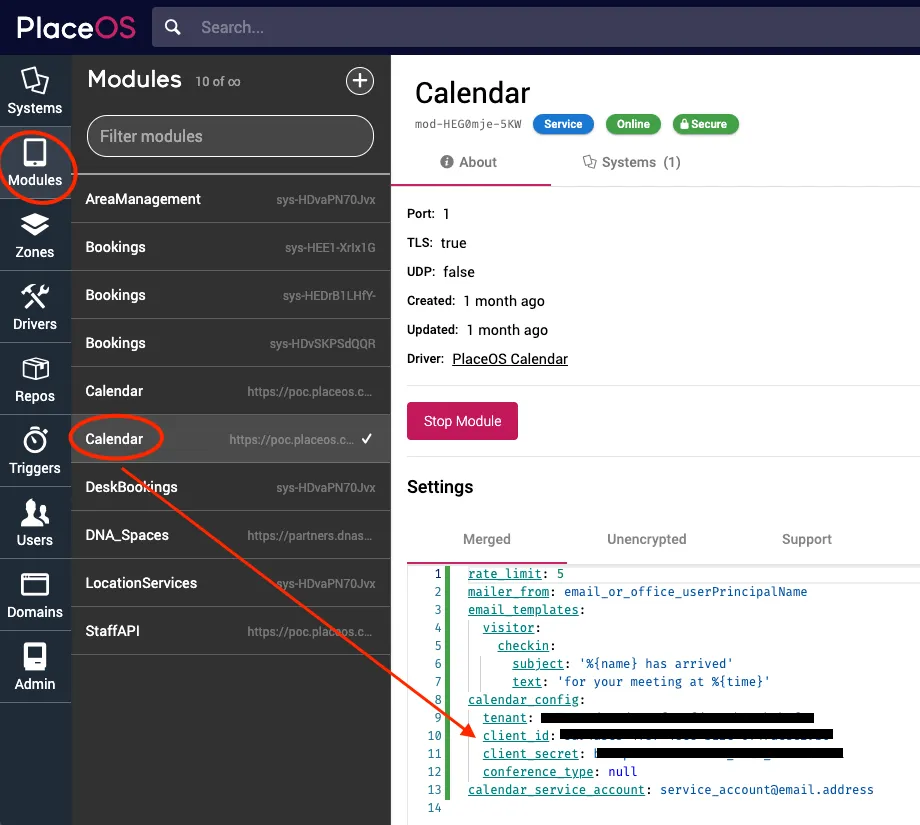
The driver is now instantiated as a module, we need to configure the API Credentials.
-
Navigate to the Drivers tab
-
Select the Calendar Driver
-
In the Settings view select
unencryptedtab -
Delete all the example configuration provided by the driver
-
If using Google Calendar API, paste this configuration into the
encryptedtab:calendar_config:scopes: ["https://www.googleapis.com/auth/calendar", "https://www.googleapis.com/auth/admin.directory.user.readonly"],domain: "primary.domain.com", #Your Google Workspace Domainsub: "default.service.account@google.com", # User or Service User Accountissuer: "placeos@organisation.iam.gserviceaccount.com", # client_id from the JSONsigning_key: "PEM encoded private key" # private_key from the JSON -
If using Office 365, paste this configuration into the
encryptedtab:calendar_config:tenant: "",client_id: "",client_secret: "",conference_type: nil # This can be set to "teamsForBusiness" to add a Teams link to EVERY created Event -
Enter your API information for Microsoft Azure or Google Workspace replacing placeholder text
Add Module to Systems
Section titled “Add Module to Systems”You can now add the module to other systems as required.
-
Navigate to an existing system
-
Select the
Modulestab -
From the drop down, select the Calendar Module
-
Click
Add Existing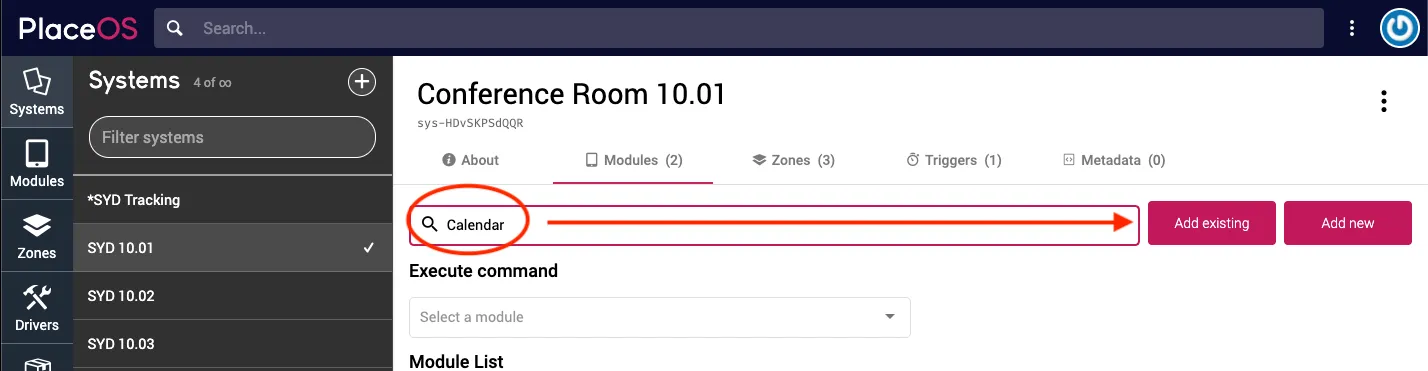
Test Module
Section titled “Test Module”You can test by creating a booking or inspecting the state of the Calendar Driver.
Inspecting State should return a valid response.
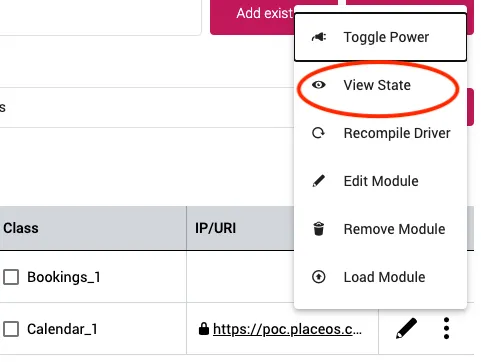
This should return:
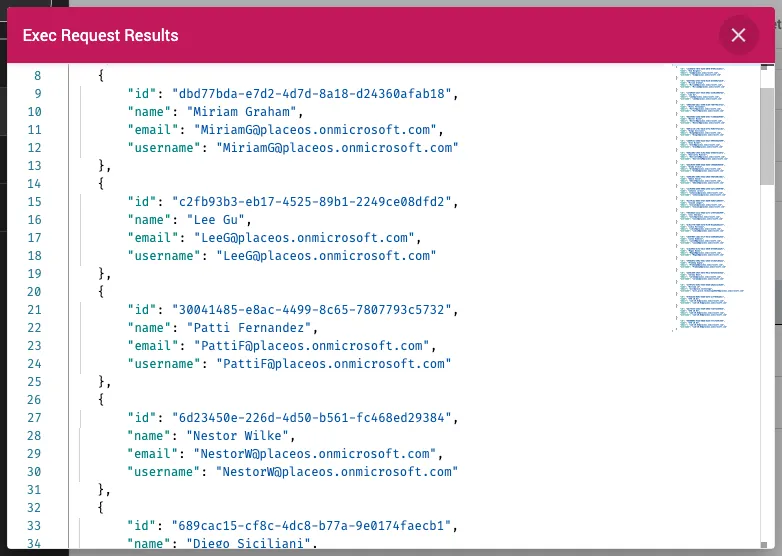
{ "connected": true}You can also execute a function on the module and view the response.
As a test, executing the list_users function should return a list of users if connected properly.